
WAVY CUSTOM GRADIENT TAG
This tutorial was written by Leanne Castle, Castle Creations, on the 18th October, 2009. Any similarities to other online tutorials is purely coincidental.
Supplies needed:
Your own Custom Gradient - Tutorial here.
The tube you used to make the gradient.
Wavy template here.
This tutorial was written using PSPX.
I hope you enjoy it. Have fun!
1. Open the template and your tube and make the Foreground in your materials pallete your gradient.
Use any settings you like with the gradient.
Use any settings you like with the gradient.
2. Open a new 600 x 600 transparent canvas.
3. On the 'Wavy Template' image, select/highlight the Layer named 'bottom'.
Edit / Copy. Go back to your blank canvas and Edit / Paste As New Layer.
4. Selections / Select All / Selections / Float / Selections / Defloat.
Floodfill with your Gradient using these settings or any you prefer:
Linear / Angle 45 / Repeats 3 / Invert Checked.
You can lower the transparency of this layer if you wish. I lowered mine to about 85.
Selections / Select None.
5. Repeat Step 3 but choose the Layer named 'middle'.
6. Repeat Step 4 but Floodfill with a solid colour to compliment your tube.
7. Repeat Step 3 but choose the Layer named 'top'.
8. Repeat step 4 but Floodfill with a different solid colour to compliment your tube.
9. You can now close the Wavy Template image.
10. Back to your working canvas. Close the top layer and highlight the middle layer.
11. Select your Smudge Brush with the follwing settings:
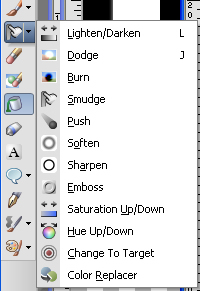
Shape Round, Size 13, Hardness 50, Step 10, Density 38, Thickness 100, Rotation 0, Opacity 100, Use all layers Unchecked.

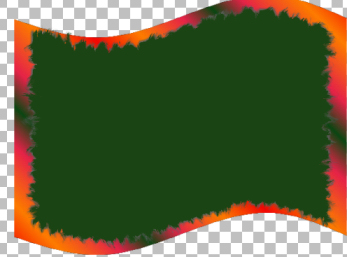
12. Place the Smudge Brush tip to the outer edge of the middle shape and brush in an outward motion:

You can move in a zig zag pattern to be quicker with it but it should look something like this:
13. Add the following drop shadow to this layer:
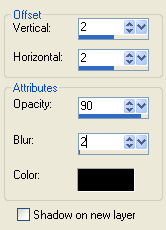
Repeat the drop shadow changing the H & V settings to (minus) -2.
14. Open and highlight the top Layer and repeat the same Smudge Brush pattern with the outer edges as you just did with the middle layer. Repeat the Drop Shadow.
15. Copy and Paste your tube as a New Layer, resize if neccessary and position over the top wave layer.
Add a drop shadow of your choice.
16. Layers / Merge Visible.
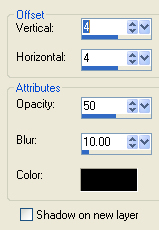
Add the following Drop Shadow:
Add the following Drop Shadow:
17. Layer / New Raster Layer.
Move your tag to the top of your workspace to make room for the text.
If you want to resize your tag, do it now before we add the text or the text may become distorted if you resize later.
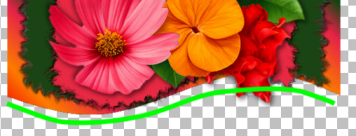
18. Using your pen tool, freehand - size 8 and with only the Foreground colour active, draw a squiggly line following the shape of the bottom of your tag. We will be deleting this line later.
19. Select your text tool and choose a font. I used Arial Black, size 150.
Change your Foreground colour to a solid colour and your Background colour to your gradient
(any settings you wish).
(any settings you wish).
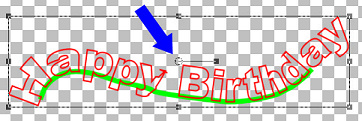
20. Hover your mouse over the line (toward the middle) until you see a curved text symbol and then click for your text box to open up. Type your text.
If your text is not centered you can move it by using the mover tool on the middle node to slide it left or right:
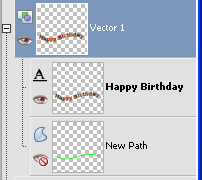
21. Click on the + sign on your text layer . Close off the layer which contains your pen tool squiggle.
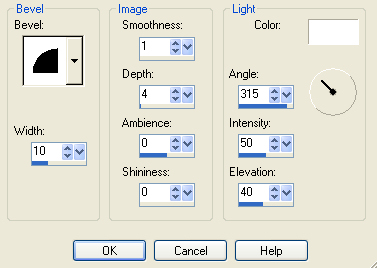
22. Reposition your text if needed and add the following Inner Bevel to your text:
22. Layers / Merge Visible.
Add a Drop Shadow of your choice,
your watermark and you are done.
Trixie's example: