This tutorial was written 15th March, 2009 by Trixie.
For this tutorial you will need the following:
PSPX but can be achieved by using any version of PSP
Gold Pattern here
A Graphic of your choice.
Neology Filter
Simple Filter
Plugins can be downloaded here
Right click and save the gold pattern to your pattern folder.
O.k........Let's get started!
1. Open up the graphic you will be framing. Go to Windows/Duplicate and close the original.
2. Resize graphic to 350 pixels on longest side.
3. Adjust/Sharpness/Sharpen.
4. Choose a dark colour for the Foreground in your Materials Pallet and a light colour for the Background from your Graphic.
5. Image/Add border - 2px symmetric - using the dark colour.
6. Select border with Magic Wand - using these settings:

7. Selections/Invert
8. Effects/3d Effects/Cutout using these settings:

9. Repeat Cutout changing Vertical and Horizontal to minus -1.
10. Selections/Select None.
11. Add the following borders:-
3px flood fill with Gold Pattern
1px dark colour
3px flood fill with Gold Pattern
30px dark colour
12. Select the 30px border with the Magic Wand (same settings as before).
13. Effects/Plugins/Neology/Turnaround.
14. Selections/Select none.
15. Selections/Select All/Modify/Contract by 40.
16. Selections/Invert.
17. Effects/Plugins/Simple/4 Way Average.
18. Selections/Select none.
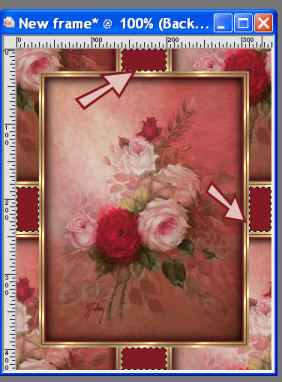
19. With the Magic Wand (same settings as before), select the 4 oblong squares as per screenshot.
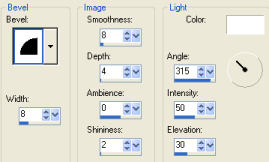
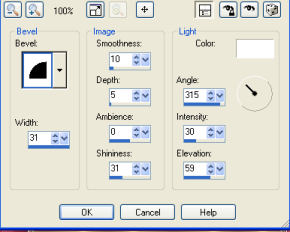
20. Effects/3d Effects/Inner Bevel using these settings:
21. Selections/Select none.
22. Add the following borders:
1px dark
3px gold
1px dark
3px gold
1px dark
40px white
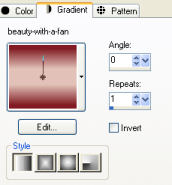
23. Using your Foreground and Background colours, make a Gradient using these settings:
24. Select the 40px white border with the Magic Wand and Flood Fill with Gradient.
25. Effects/3d Effects/Inner Bevel and use these settings:
26. Selections/Select none.
27. Add a 1px border using a colour that is not in your 40 px border, select with Magic Wand and Flood Fill with your dark colour.
28. Selections/Select none.
29. Add the following borders:
3px Gold
1px dark
3px Gold
10px dark
3px Gold
1px dark
3px Gold
30. If you wish to resize make sure you go to Adjust/Sharpness/Sharpen after you resize.
31. Add your watermark and you're done!
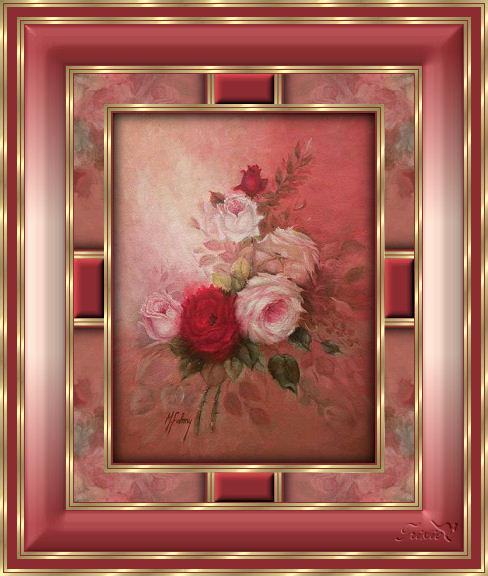
Another example by Trixie:
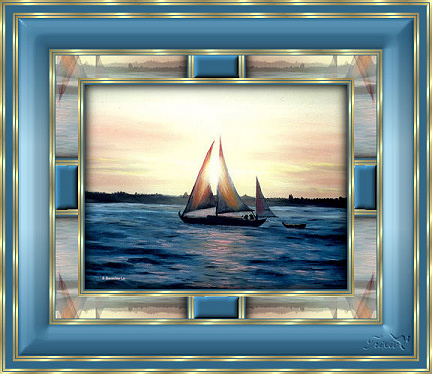
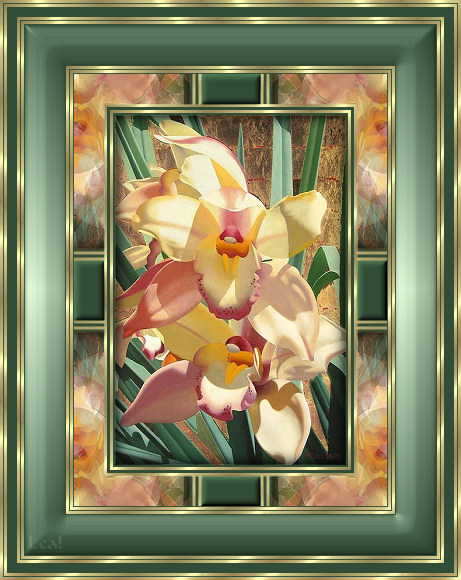
Examples by Lea: